

If you are about to have a driveway or a small lot paved, you will probably see the crew for only a day or two. Most of what decides whether that surface lasts happens in steps that are covered up by the end of the job.
Each of those steps has something that should be checked before the next one starts. Industry guidance gives real numbers for several of them, from base thickness to how long to keep a moving truck off a fresh driveway.
At TurnKey Asphalt, our installation work runs in a fixed order: clearing and shaping the ground, building and compacting a base, laying the asphalt, and compacting it while it is hot.
If you are planning a new driveway or lot, contact us and we will walk you through what your site needs before anything starts.
For an ordinary residential driveway, a technical brief from the Colorado Asphalt Pavement Association, published by the Asphalt Institute, calls for 6 to 8 inches of crushed stone base under a 2-inch bottom course and a 1.5-inch surface course.
How an Asphalt Pavement Carries a Load
A pavement works as layers. The asphalt spreads the load it takes and passes it down, and everything below it has to carry what reaches it.
That is why a new surface that fails early usually fails because of what is under it, not because of the mix. Every step below is about making one of those layers do its job. For a plain overview of the sequence, our earlier post on the step-by-step process of asphalt installation covers the basics.
The Layers That Have to Work Together
From the ground up, a typical driveway has three working parts:
- Subgrade: the native soil, graded and firmed up
- Base: crushed stone, spread and compacted in layers
- Asphalt: a bottom course and a surface course, bonded to each other
The FHWA describes the bond between asphalt layers as creating a monolithic structure that performs as a unit. When any layer is weak or the layers are not bonded, the whole pavement carries load worse than its thickness suggests.
Where Local Ground Changes the Plan
Much of the New Orleans area is built on soft ground that settles. A surface can be laid well and still develop dips if what is under it moves, so drainage and levels get as much attention as the mix.
There are also sites where we would talk it through before recommending asphalt at all: areas that sit under standing water and cannot be drained, ground that is still settling from recent work, and surfaces that will hold a heavy load parked in one spot for long periods.
Step 1: Read the Site Before Anything Is Dug
The Colorado Asphalt Pavement Association’s brief starts with the site, not the asphalt. Before giving advice, it says, look at the actual site conditions and understand the subgrade soil type, drainage, presence of utilities and type of loads.
What should be checked at this step:
- What kind of soil sits under the area, and how wet it gets
- Where water comes from and where it will leave
- Where buried utilities run
- What will drive and park on the finished surface
Soil type can change the whole plan. In parts of the metro, for example, the ground is heavy clay that stays wet through the winter, which we cover in our guide to what River Ridge clay soil means for your asphalt driveway.
This is also where the price is set. Ground preparation, the depth of base and asphalt the use calls for, access for equipment and any added drainage work all move it, which is why we measure first and quote second, in writing and at no cost.
The brief also flags one timing issue for new construction. Backfill and fill areas around new homes are often prone to settling, and in some cases it is wise to wait a few months before the driveway goes in.
Step 2: Clear and Shape the Ground for Drainage
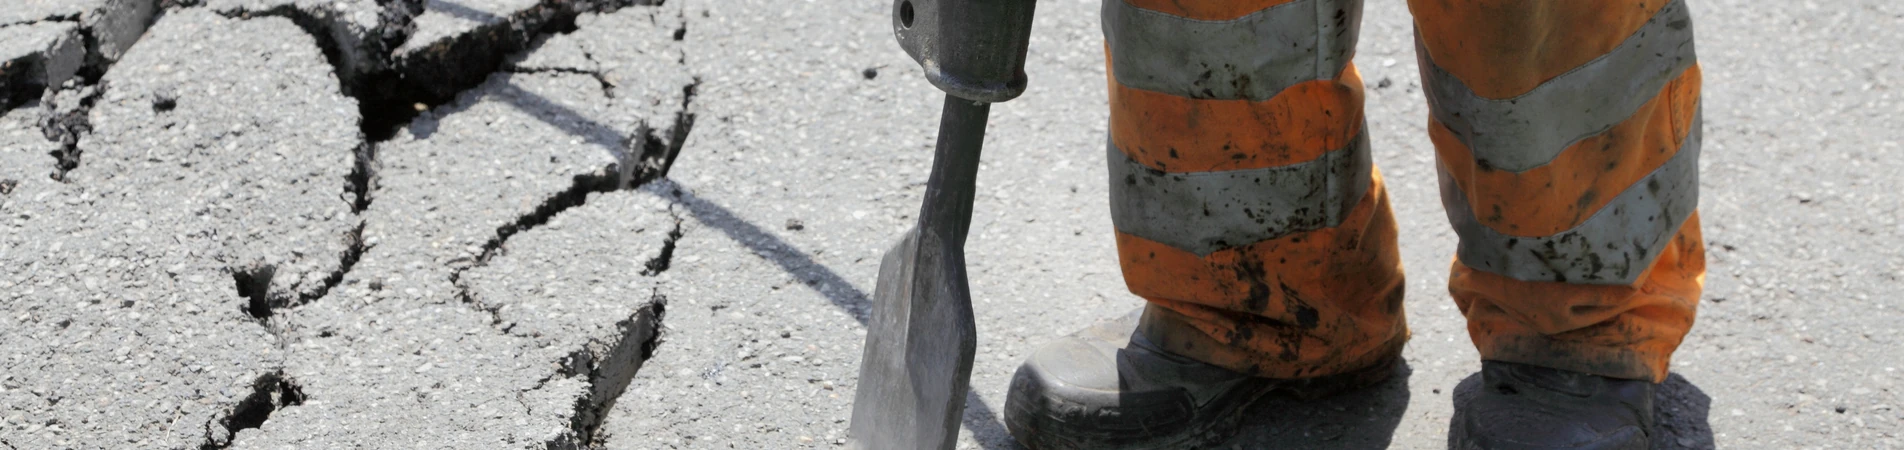
Next, the ground is cleared and cut to the levels the finished surface needs. The brief says the subgrade should be graded smooth, made free of organic material, and have weak spots undercut and replaced with suitable material.
What should be checked at this step:
- All vegetation, roots and soft material are out
- Weak spots are dug out and replaced, not covered over
- The crown and slopes are set so water runs off the finished surface
Drainage is won or lost here. We set the levels before any material arrives, because once the asphalt is down they cannot be changed without taking it up again.
Skipping or rushing this step is one of the problems our post on the most common asphalt paving mistakes describes.
Step 3: Build and Compact the Stone Base
The base is what stops the surface moving under a vehicle years later. The Colorado brief says a base course of 6 to 8 inches of crushed aggregate is usually adequate for a residential driveway.
How it goes down matters as much as how thick it is. The brief calls for base aggregate to be spread evenly to the proper thickness, line and grade, and compacted with suitable rollers and compactors.
What should be checked at this step:
- The base depth matches what was agreed for the site and the traffic
- The stone is compacted in layers, not dumped and rolled once
- The surface of the base is firm and follows the planned slopes
The brief adds that weed killer is sometimes applied at this stage to help keep weeds from growing up through the pavement.
A base that was not compacted to full depth settles under traffic, and the asphalt follows it down. Once paved over, that problem is invisible until it shows as a dip.
Depth also follows the traffic. A car driveway and a lot carrying loaded trucks are not built the same way, so the base for a commercial lot is planned around what will actually drive on it.
Step 4: Bond the Layers With a Tack Coat
Tack coat is a thin sprayed layer of asphalt binder. The FHWA defines it as an application on an existing pavement before an overlay, or between layers of new asphalt, providing the glue between the layers.
The FHWA brief links poor bonding to slippage cracking and delamination, and says it can also lead to fatigue cracking and potholes. It notes that a lack of bonding is often not recognized as the source of those failures.
What should be checked at this step:
- The surface is clean and dry before the tack goes down, which the FHWA names as the goal of surface preparation
- The tack has “broken,” which the FHWA describes as the moment the color changes from brown to black
- Trucks and equipment are not tracking tack off the area onto other surfaces
Tracking is the FHWA’s term for tack being carried off the work area on tires and equipment. Besides the mess on your garage floor or the street, tack that leaves the surface is tack that is no longer bonding the layers.
On an overlay of an old driveway, the Colorado brief recommends tack for old weathered surfaces, after weak spots, holes and large cracks are cut out and patched. It puts a typical driveway overlay at 1.5 to 2 inches of surface mix, laid on a clean, dry surface and finished smooth enough that it will not pond water.
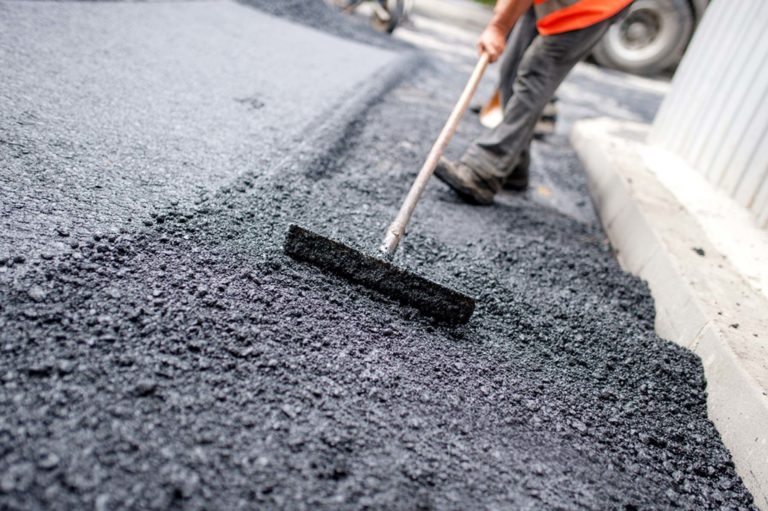
Step 5: Place the Asphalt by Machine, in the Right Weather
This is the step people usually picture when they hear “paving.” The brief’s guidance is short and specific.
- Weather: pave only when conditions are good, and avoid cold, rainy days
- Temperature: the mix should be delivered and used at the proper temperature
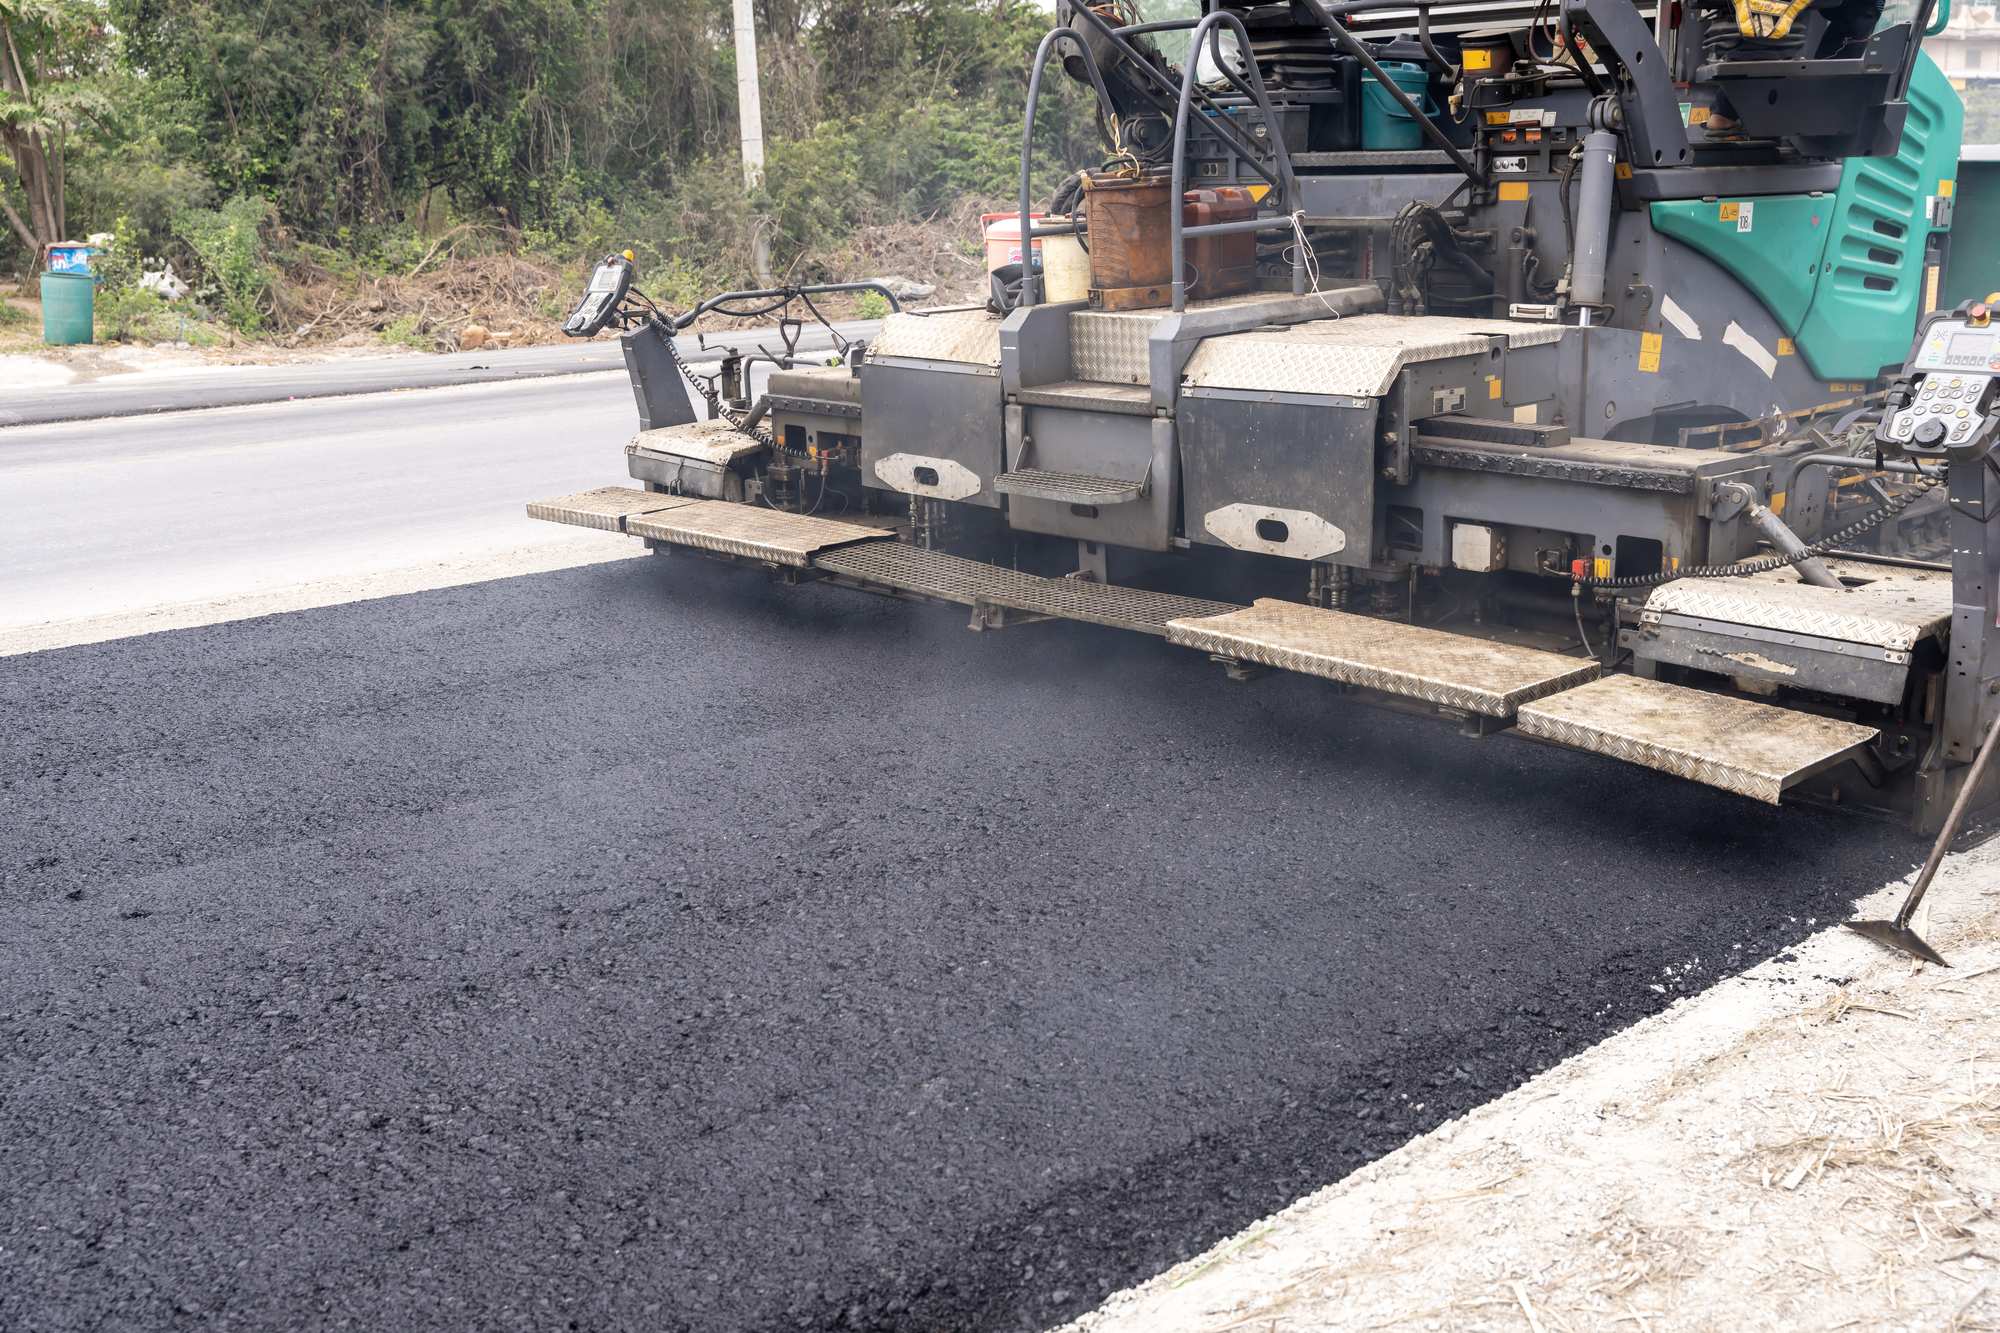
- Placement: asphalt should be machine placed, with hand work avoided as far as possible
- Thickness: for an ordinary driveway, a 2-inch bottom course covered by a 1.5-inch surface course
The right mix also depends on the job. Our post on how to choose between hot mix and cold mix asphalt compares the two types of mix and where each one fits.
Your part of this step is simple. Anything standing on the area, from vehicles to planters, has to be off it before we start, and that list and its deadline come with the estimate.
Weather is the part nobody controls. Before the crew arrives, we tell you what the weather would have to do for us to stop, and what happens to your dates if it does.
Step 6: Roll It Hot, Finish the Joints, Then Open It Carefully
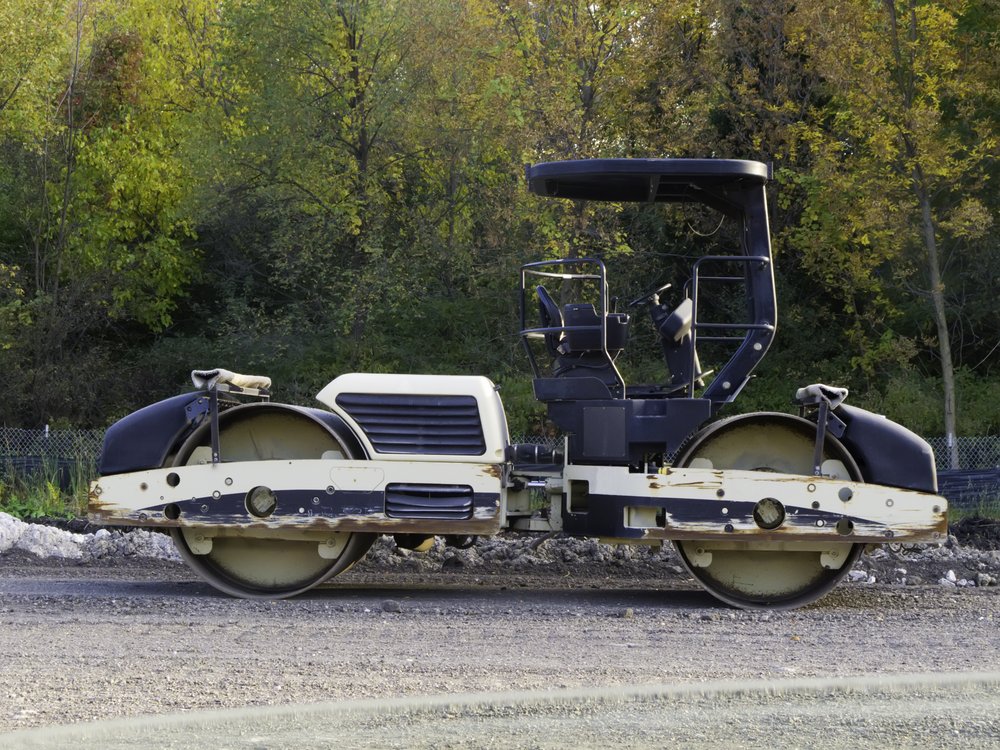 The Colorado brief calls rolling and compaction with proper equipment and techniques essential to a good job. Compaction is only available while the mat is still hot, so rolling has to happen in that window.
Joints need their own attention. An Asphalt Institute article on longitudinal joints, the seam where two side-by-side passes meet, says joint deterioration continues to be the most often cited cause of premature pavement failure.
The same article explains why. The edge of the first pass cools before the next pass is placed, creating a “cold joint,” and the cold side of that joint tends to end up less dense.
What should be checked at this step:
- Rolling starts while the mat is hot and covers the full width, edges included
- Joints are tight, with no open seam where water can get in
- On a driveway wide enough to need two passes, the joint between them gets rolled with the same care as the middle of the mat
- The finished surface is smooth and does not hold water
Edges get the same care as joints. We work the edges so water has no opening at the perimeter, because an open edge lets rain under the new surface from the side.
Then comes opening. The Colorado brief says new asphalt can be driven on soon after placement, but it is best to wait a few days, and a heavy moving truck should not drive on a fresh driveway.
Work With a Crew That Builds From the Ground Up
Most of an installation is the part nobody photographs: reading the site, shaping the ground for drainage, and building a base that will still be firm years from now. The asphalt you see is the smaller part of the job.
The Colorado brief also advises getting everything spelled out in the contract. With us, all of it goes to you in writing before anything starts: the dates, which parts of the area are out of use, what has to be moved, and what the weather would have to do to stop us.
At TurnKey Asphalt, our asphalt installation service covers new driveways, parking lots and access roads, and our asphalt paving page explains when an existing surface can be paved over instead. If yours can be kept, the estimate will say so.
You get the dates before the crew arrives, along with which parts of the property stay usable while the work is done.
To talk through your project, call us at (504) 576-9561.
Frequently Asked Questions
How thick should a new asphalt driveway be?
For an ordinary residential driveway, the Colorado Asphalt Pavement Association brief published by the Asphalt Institute calls for a 6 to 8 inch crushed stone base, a 2-inch bottom course and a 1.5-inch surface course. The right depth for your driveway depends on the soil and the vehicles using it, so it is decided after the site is looked at.
What is a tack coat, and is it needed?
A tack coat is a thin sprayed layer of asphalt binder that bonds asphalt layers together. The FHWA links poor bonding to slippage, delamination, fatigue cracking and potholes, so it matters between layers and on overlays of old, weathered surfaces. On paving day, you can see it break as it turns from brown to black.
Can asphalt be installed in the rain?
The Colorado brief says paving should be done only when weather conditions are good and to avoid cold, rainy days. A wet surface also works against the clean, dry surface the FHWA names as the goal before tack goes down. If the forecast turns, the right call is usually to move the date.
How soon can I drive on a new asphalt driveway?
New asphalt can be driven on soon after it is placed, but the Colorado brief recommends waiting a few days before opening it. Keep heavy vehicles, such as a moving truck, off a fresh driveway for those first few days.
Why do asphalt joints fail first?
The seam between two passes tends to be the least dense part of the pavement, because the edge of the first pass cools before the next one is placed. An Asphalt Institute article calls joint deterioration the most often cited cause of premature pavement failure.