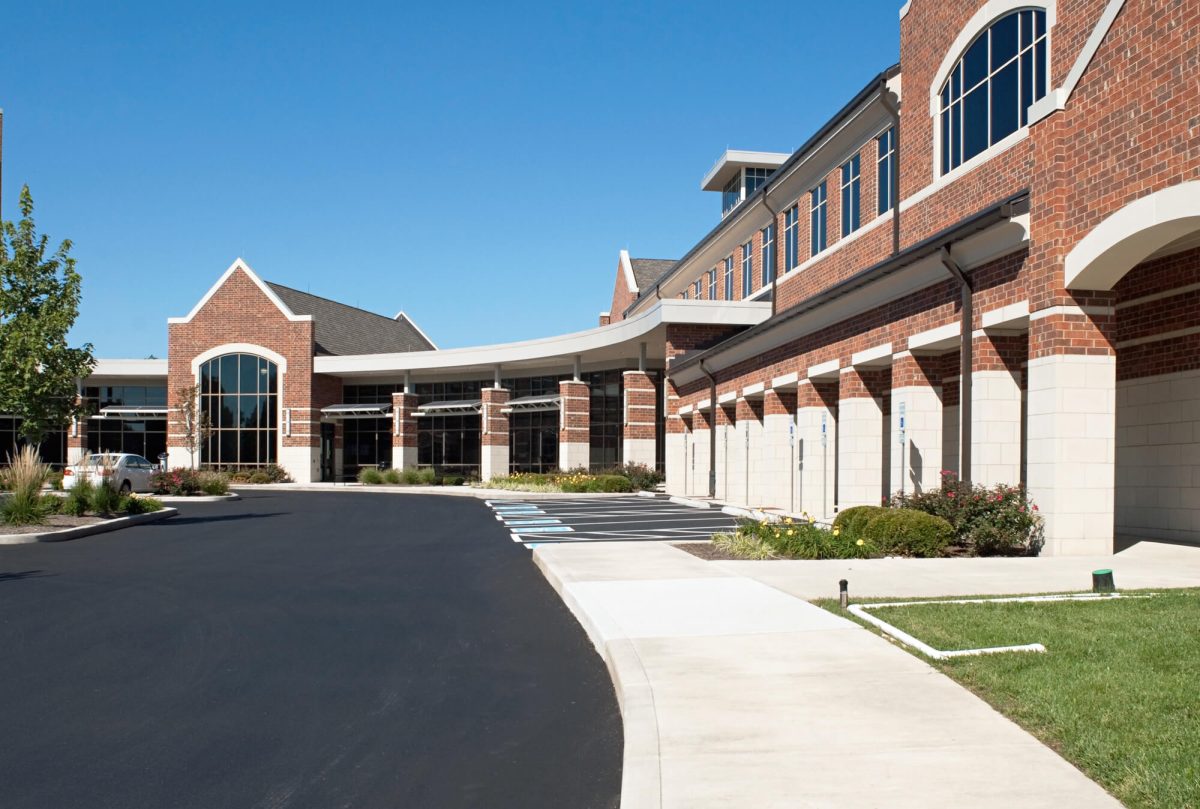
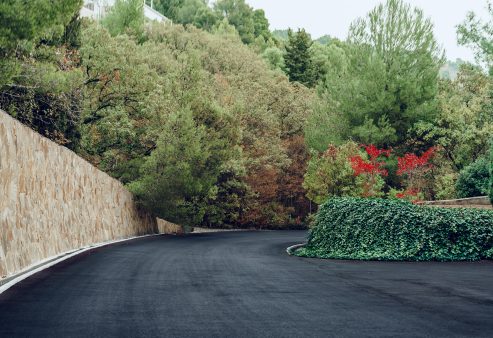
A properly installed asphalt surface lasts for years, handling traffic and weather changes without breaking down. Whether you’re working on a driveway, parking lot, or roadway, understanding the process helps you get the best results.
At TurnKey Asphalt, we specialize in high-quality asphalt installation that stands up to heavy use and changing weather conditions. From preparation to final compaction, every step plays a role in making sure the surface is smooth, strong, and built to last.
Need expert asphalt installation? Contact us today for reliable, long-lasting results!
What Is Asphalt Installation?
Asphalt installation is a multi-step process that creates a smooth and durable surface. It starts with removing old pavement, preparing a stable base, and compacting materials to keep the surface from shifting over time.
With the right methods, asphalt holds up against daily use, extreme temperatures, and heavy loads. This makes it a popular choice for both small and large projects.
Tools and Materials Needed
Having the right equipment and materials is a big part of getting an asphalt surface that lasts. Here’s what goes into the process:
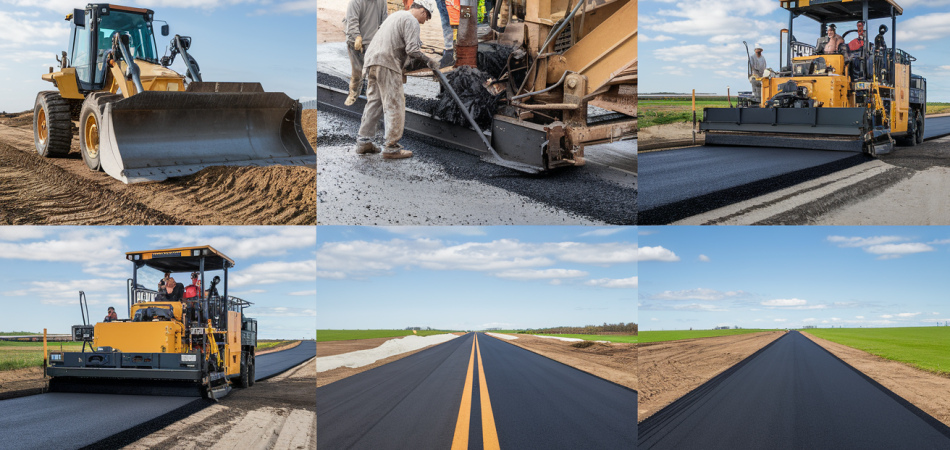
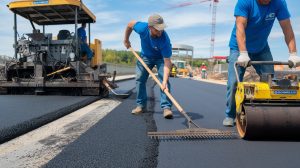 Heavy Machinery: Rollers, pavers, skid-steer loaders, and milling machines handle large-scale work efficiently.
- Hand Tools: Shovels, rakes, lutes, and tampers help with detail work and smoothing edges.
- High-Quality Asphalt Mix: The right mix depends on climate, traffic volume, and the specific use of the pavement.
- Sub-base Material: A compacted base layer provides stability and protects against shifting and cracking.
With proper installation, asphalt can last more than 25 years with only basic maintenance, making it a smart and cost-effective option.
Step-by-Step Asphalt Installation
A good asphalt surface comes from following the right process. Here’s a breakdown of each step:
1. Removing the Old Surface
The first step is taking out any existing pavement, whether asphalt, concrete, or pavers. This clears the way for a solid base.
The removed material doesn’t go to waste—it can be recycled and used in new asphalt, reducing landfill waste and making the process more environmentally friendly.
2. Grading and Slope Adjustment
Proper grading levels the area and directs water away from the surface. This prevents water from pooling and causing damage.
A smooth, even base also helps prevent cracks, potholes, and weak spots from forming over time.
3. Preparing the Base Layer
A strong base is critical for durability. A thick layer of crushed aggregate is laid down to provide strength and prevent damage from freezing and thawing.
The depth of this layer depends on the soil type:
- Sandy Soil: Typically needs a 4-inch base.
- Clay Soil: Requires an 8-inch base for added stability.
4. Compaction and Proof Rolling
Before asphalt is installed, the base must be tightly compacted. A proof roll test checks for weak spots. If the ground shifts under the weight of the roller, it needs further compaction before moving forward.
5. Applying the Base Course
 A thick layer of crushed aggregate is spread over the sub-base. This adds more strength and keeps the pavement from sinking or cracking over time.
The material is compacted again to create a firm foundation.
6. Laying the Asphalt Mix
Hot asphalt mix is spread in layers, usually between 2 and 3 inches thick. It is applied evenly to provide a solid, uniform surface.
The type of asphalt mix used depends on the project’s needs, with some blends designed for extra flexibility and weather resistance.
7. Forming Joints and Transitions
Joints and transitions between new and existing pavement must be properly shaped to prevent cracks and uneven surfaces.
This helps the new asphalt bond well and keeps the surface from separating over time.
8. Final Compaction
A heavy roller is used to compact the asphalt, removing air pockets and creating a smooth finish. This step helps the surface hold up under traffic and weather changes.
After installation, the asphalt needs at least 24 hours to set before vehicles can drive on it.
Benefits of Asphalt Pavement
Asphalt is a top choice for paving because it is durable, cost-effective, and easy to maintain. Here’s why it stands out:
1. Long-Lasting Surface
With proper upkeep, asphalt surfaces can last more than 40 years. Regular sealcoating every 2 to 3 years helps protect against wear and extends its life.
2. Easy Maintenance
Unlike concrete, asphalt is easy to repair. Small cracks can be sealed, and resurfacing can refresh the surface without a full replacement.
3. Eco-Friendly and Recyclable
Asphalt is 100% recyclable, which means old asphalt can be reused without losing quality. This reduces waste and lowers the demand for new raw materials.
4. Cost-Effective Option
 Asphalt costs less to install than concrete or stone while offering similar durability. Its lower upfront cost and long lifespan make it a good investment for both residential and commercial projects.
5. Smooth and Quiet Ride
Asphalt provides a smooth surface that improves ride quality and reduces noise. This makes it a great choice for urban areas, where noise reduction is an added benefit.
Asphalt Installation Done Right
A well-installed asphalt surface is built to last. Every step, from preparing the base to final compaction, plays a role in preventing cracks, potholes, and early wear.
Following the correct process creates a strong, flexible surface that can handle traffic, weather, and time.
At TurnKey Asphalt, we focus on quality and precision, ensuring that your asphalt pavement stays in great condition for years.
If you need expert guidance or professional installation, call us today. We’ll help you get the results you need.


 By TurnKey Asphalt
  Feb 6, 2025